
Oracle Integration Cloud (OIC) provides Rest Adapter to deal with Rest Services. To work with the Rest service first need to create a connection. It will provide the option of how you want to use the rest service meaning you want to expose the rest service to the outer world or want to consume outer world rest services in OIC.
- When you want to expose the service, you need to select the role as a Trigger.
- When you want to consume the rest service, you need to select the role as Invoke.
- When you want both roles to trigger and invoke by the same connection, select the role as Trigger and Invoke
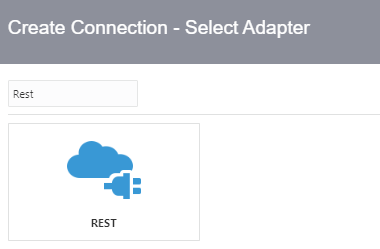
Navigation to create connection Home > Integrations > Connections then search Rest
Let's discuss Trigger
When you select a role Trigger then you have to specify security only and agent configuration is not required
This security will specify the login credentials to access your rest endpoint
There are three security policies under the security section
- Basic Authentications --> It enables login with a user name and password
- OAuth 2.0 --> It enables login with token-based on clientID and client secret
- OAuth 2.0 or Basic Authentication --> It enables both the options
Basic Authentication: In this approach, you need to send the user name and password through an HTTP authorization header. It is the default security provided on exposed Rest API. These users are created on IDCS and have the role ServiceUser for OIC.
Note:
- Oracle does not recommend using this authentication mechanism
- Every 3 months, you have to reset the password in OIC as per the Oracle policy
OAuth: OAuth stands for Open Authorization and it is standard which provides API security via access token. In this approach, the external client acquires the token and sent it as a part of the request while invoking the Rest API.
The most important aspect of an application in OAuth is how the application receives the access token. Grant Type is the mechanism used to retrieve the access token. OAuth defines several access grant type that represents different authorization mechanism. This grant type is defined in Oracle Integration Cloud Service Application. Grant is the credential that represents the resource owner's authorization to access a protected resource.
Let's explore different grant types
- JWT user assertion --> To invoke OIC services without user interactions
- Client Credentials --> To invoke OIC services without user interaction
- Authorization code --> To invoice OIC services with user interactions
- Resource owner password credential (ROPC) --> To invoke OIC services without user interactions
1. JWT User assertion: This is the recommended grant type. A user assertion is the user token that contains the identity information of the user. User assertion is used directly to obtain the access token.
High-Level Steps
- Generate the Certificate using the java key tool and private key using the open SSL command
- Register Application in IDCS by choosing JWT user assertion grant type
- Add the scope and import the certificates if selected trusted client into the security section
- Activate the application and get the client ID and client secrete
- Generate the JWT user assertion using generated private key and java code
- Call the IDCS token service to get the token
- Call the OIC rest service using the above token
This type of grant is used when integration is invoked by the application and there is no user intervention.
2. Client Credentials: In this grant type there won't be any user interaction will be required
Below are the high-level steps
a). Create an IDCS application by choosing the Client Credentials to grant type
b). Add the scope and activate the application and get the client ID and client secrete
c). Assign the IDCS created an application into the OIC application
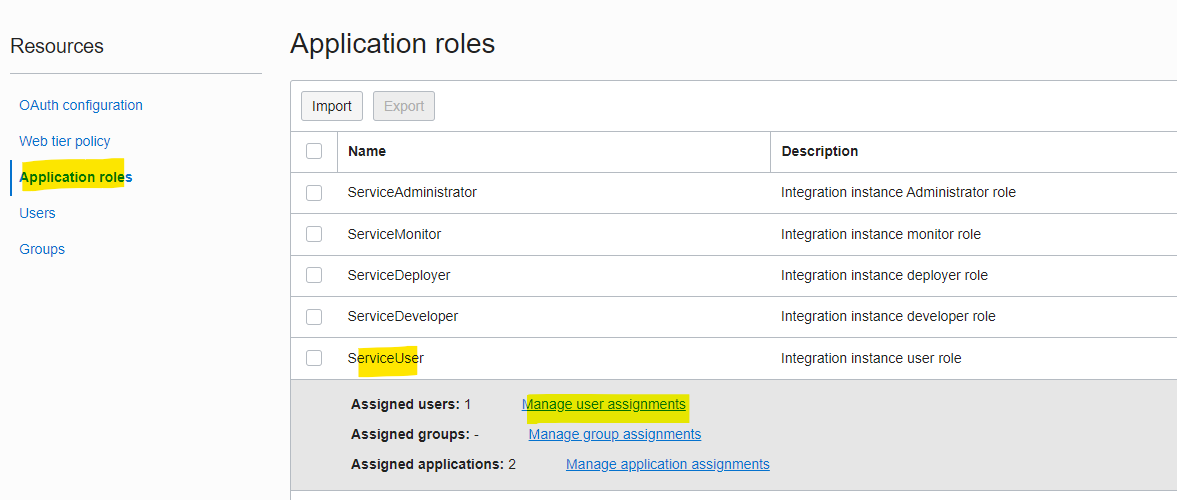
d). Then click on the application role

e) click on any of the application roles then click on mange application assignments

f) search the application under available applications then select the newly created application into IDCS and assign the role.

g) get the token and call the OIC service based on it
Below are the steps and values to call the OIC API with OAuth
Token Service Details
URL: https://idcs-url.identity.oraclecloud.com/oauth2/v1/token
Header: Basic <base64encoded clientID:clientScrete>
Body:
Content Type: application/x-www-form-urlencoded
grant_type: client_credentials
scope: https://<replace with Scope-received-from-scope-section-IDCS-app>.integration.ocp.oraclecloud.com:443urn:opc:resource:consumer::all
OIC Service
URL: https://<OIC-host>443/ic/api/integration/v1/flows/rest/DEMO_Resource_Owner_OAuth_Intg/1.0/get
Header: Authorization Bearer <Access token received from above token API>
3. Resource owner: In this grant type resource owner's password credentials (user name and password ) will be used by the OAuth client directly as an authorization grant to obtain an access token.
High-Level Step
1. Create an IDCS application by choosing Resource Owner as a Grant Type
2. Add the scope by selecting the OIC application
3. Get the client ID and client secrete from the OAuth Configuration section
4. Call the IDCS token API to get the access token
5. After taking the token call the OIC service by passing the token into the header as Bearer <Access token>
To Create IDCS Application
Login to IDCS Admin console https://idcs-<replacewithidcs-base url>.identity.oraclecloud.com/ui/v1/adminconsole
Click on Applications

Then click on add application

Then click on confidential application and then click on Lunch Workflow

Enter the name and keep everything as default and click on next

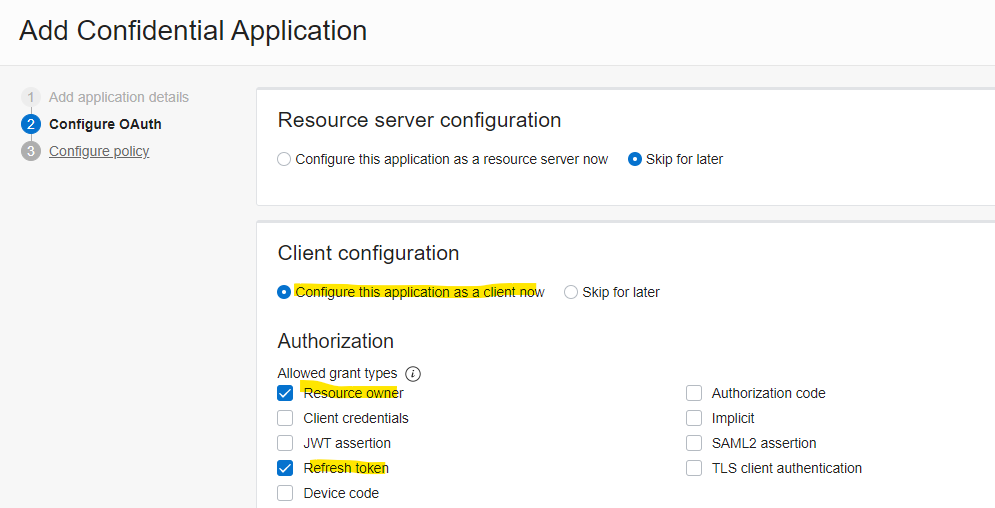
Configure OAuth for client configuration and select configure this application as a client now and select the Resource owner and Refresh token as grant type
Scroll down select the add Resources and then click on Add scope

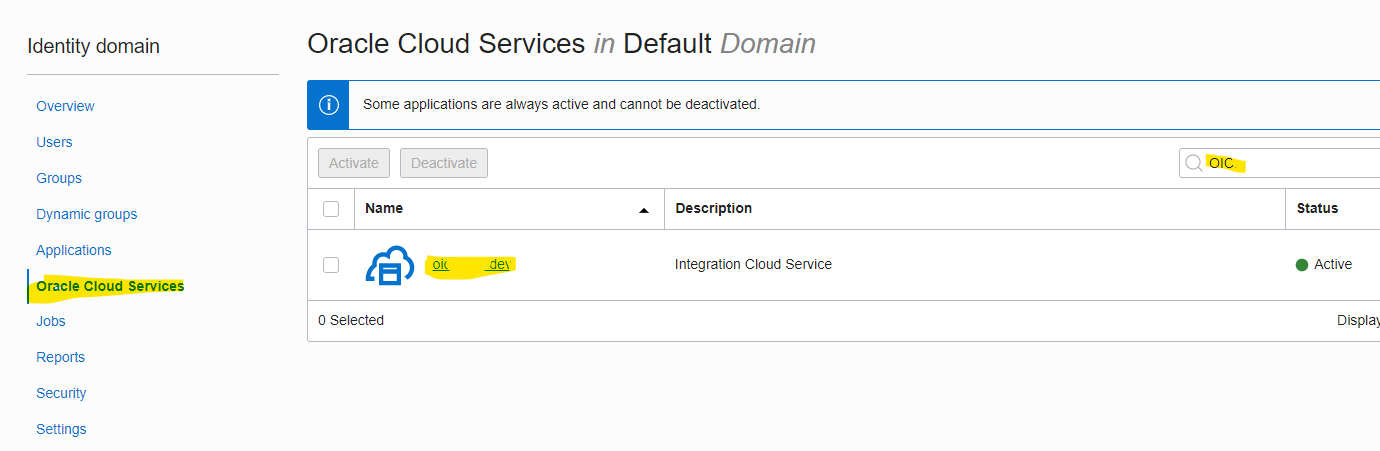
As soon as you will click on Add Resources it will show all the applications generated on IDCS. Search the application related to IDCS then select the application and scope

Then activate the application.
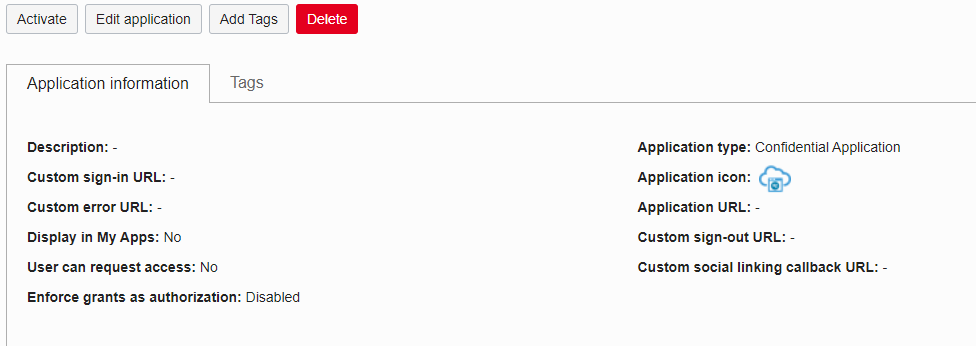
Then open the application and then go to the General information section which will depict the client ID and client secret. Copy these values and kept somewhere in the notepad which will use while calling the IDCS token API

Below are the steps and values to call the OIC API with OAuth
Token Service Details
URL: https://idcs-url.identity.oraclecloud.com/oauth2/v1/token
Header: Basic <base64encoded clientID:clientScrete>
Body:
Content Type: application/x-www-form-urlencoded
grant_type: password
scope: https://<replace with Scope-received-from-scope-section-IDCS-app>.integration.ocp.oraclecloud.com:443urn:opc:resource:consumer::all
username: OIC User name
username: OIC Password
OIC Service
URL: https://<OIC-host>443/ic/api/integration/v1/flows/rest/DEMO_Resource_Owner_OAuth_Intg/1.0/get
Header: Authorization Bearer <Access token received from above token API>
4. Authorization code: In this OAuth flavor, the Authorization Code will be generated for the user assigned to the IDCS application, and the basis of the authorization code and client id, and client secret token will be generated and it will be passed to OIC rest API to call it.
How Authorization code generates at run time is below

Step 1: Call the IDCS authorize Get API which will redirect to the IDCS login page to enter the credentials
https://idcs-XXXXXXXX.identity.oraclecloud.com/oauth2/v1/authorize?response_type=code&client_id=XXXXXXXXXXXX&scope=https%3A%2F%2XXXXXX.integration.ocp.oraclecloud.com%3A443urn%3Aopc%3Aresource%3Aconsumer%3A%3Aall&redirect_uri=https%3A%2F%2FOICDev-xxxxxxxxxxxxx-ia.integration.ocp.oraclecloud.com%2Ficsapis%2Fagent%2Foauth%2Fcallback
Step 2: Signin API is the Post API of IDCS and redirect to OCI storeLoginInfo
https://idcs-XXXXXXXXXXX.identity.oraclecloud.com/ui/v1/signin
Step 3: storeLoginInfo API is the Get API of OCI
https://login.oci.oraclecloud.com/v2/storeLoginInfo?redirect_uri=xxx&access_info=XXXX&is_paas_login=true
Step 4: After successful validation of the user, it will call the callback URL having authorization code and the code will be available in response header as below
https://idcs-XXXXXXXXXXX.identity.oraclecloud.com/sso/v1/user/callback/login?nonce=XXXX

Step 5: After getting the code call the token API of IDCS and its method is Post
https://idcs-XXXXXXXXXX.identity.oraclecloud.com/oauth2/v1/token
High-Level Steps for Authorization Code Grant Type
a). Create the Application on IDCS by selecting Authorization Code and Refresh Token Grant Type
b). Select the client type as confidential and provide the redirect URL like
https://oic-xxxxxxxxxx-ia.integration.ocp.oraclecloud.com/icsapis/agent/oauth/callback
c). Add the resources and Scope by selecting the OIC IDCS application
d). Activate the Application and Copy the client Id and client secrete
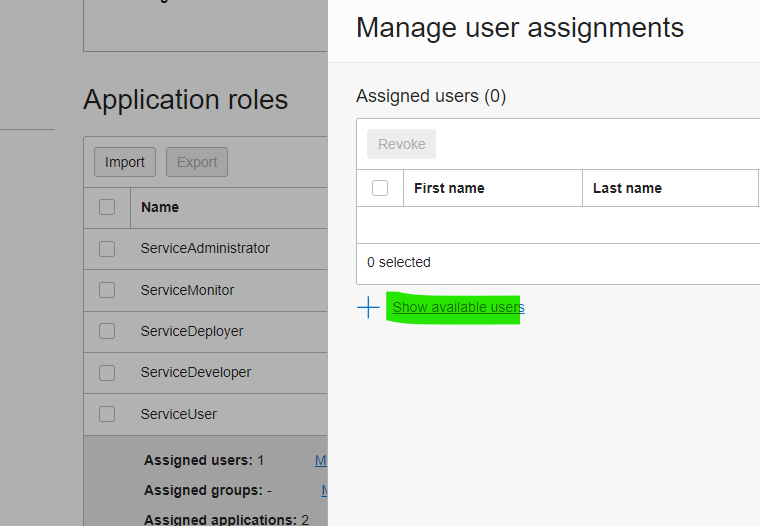
e). Go To OIC IDCS Application and select the application role and then select the role as a service user and then click on Manage user assignments
Then click on show available users and assign the user which will authorize at run time
Now all the settings have been done its time to test the API with the Authorization code
To Configure authorization and OIC rest service into Postman is like below

Conclusion
- In the JWT user assertion token, the assertion should be created and it will be passed with the client id and client secret to get the token.
- In Client, credentials grant type IDCS created application should be assigned to prebuilt OIC Instance IDCS application with the application role
- In Resource owner just the IDCS application and no need to assign this with the OIC IDCS application but in this case, you need to pass the OIC user name and password to get the token
- In the Authorization code grant type, you need to create the application in IDCS and you have to assign a user from the OIC IDCS application, this user will be used to authorize and the authorization code will be generated
References

No comments:
Post a Comment